How to Quickly Start?
Step 1. Import your videos/audios/images to Media Library
click “Open” to choose your files to import;

Step 2. Add the target files to the representative tracks on the timeline for editing
Drag & drop the target file from your local album to append it to the representative track on the timeline.

Step 3. Edit videos on the timeline.
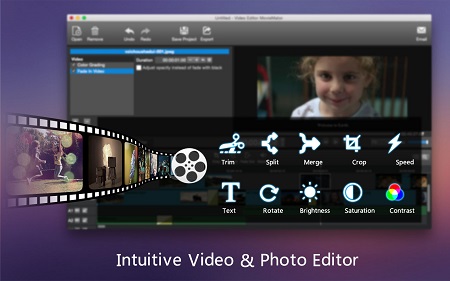
MovieMator not only allows you do basic editing like trimming, cropping, merging, rotating, splitting and more, but also supports advanced editing like PIP (Picture-in-picture or Video Overlay) effect. You can edit your videos to fancy home movies by adding various professional-looking filters and dazzling transitions.
Step 4. Export videos.
Click “Export” on the main interface, then choose your desired format and adjust output settings. When everything is OK, click “Export File” to name the file and choose the destination folder.


Step 5. Save Project (optional).
Click “Save Project” on the main interface to name the file and choose the destination folder.


